


When using Avada theme, many newbies may be confused about its homepage layout, especially in the selection and setting of containers and modules. Compared with other page builders such as Elementor and WPBakery Page Builder, Avada theme's built-in editor provides a more intuitive and efficient way of layout. In this post, we will explain in detail how to do homepage layout in Avada to help you quickly get started and master the skills of container and module settings.
![图片[1]-全面解析Avada主题首页排版与容器设置技巧(04)-光子波动网 | WordPress教程、Elementor教程与故障修复](https://www.361sale.com/wp-content/uploads/2024/09/2024091102434267.png)
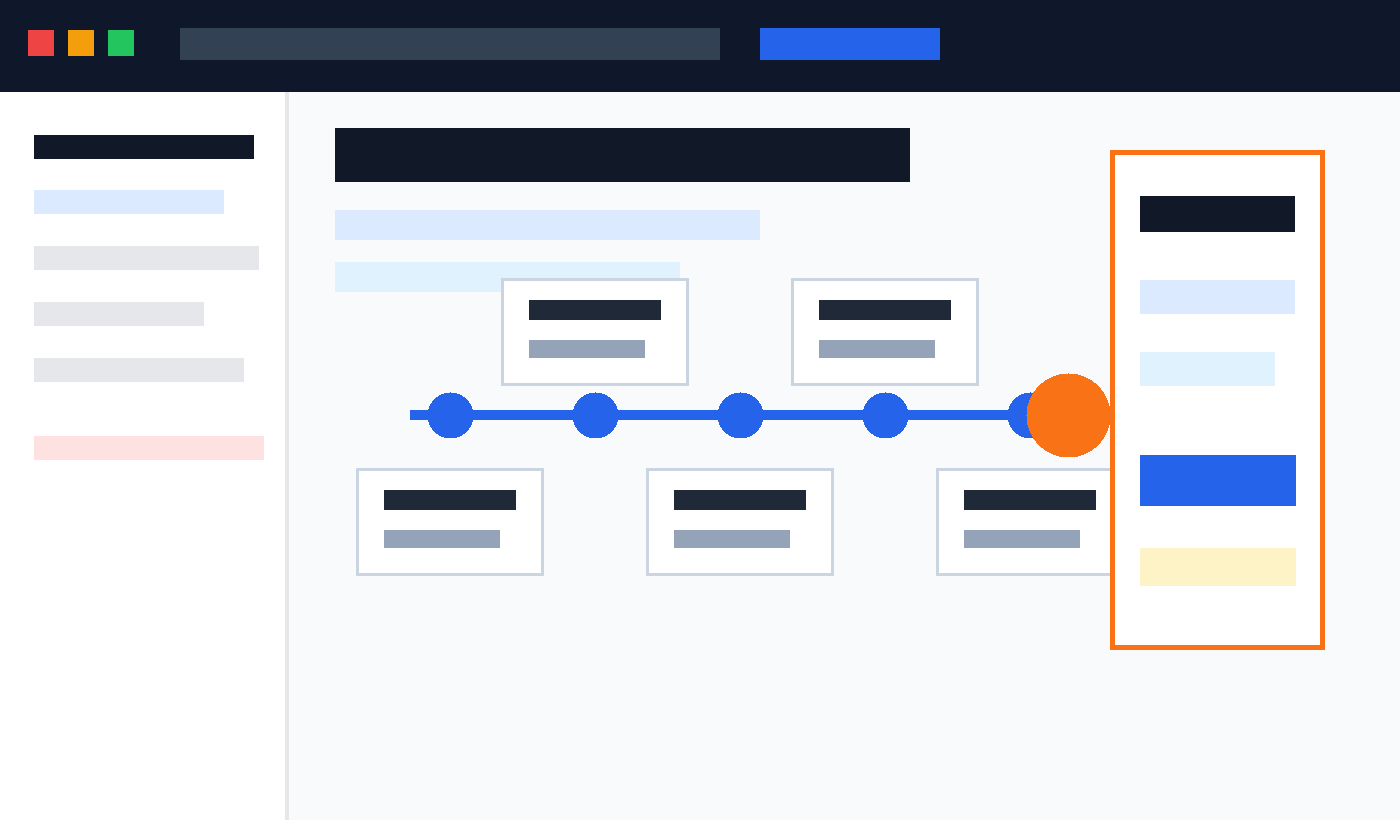
Steps: Website Frontend→Edit Live→ADD COLUMNS
On the first page we can see this symbol placed in the center and on the right, so how do we choose it?
If you are adding the line you have now, click on Add in the center
![图片[2]-全面解析Avada主题首页排版与容器设置技巧(04)-光子波动网 | WordPress教程、Elementor教程与故障修复](https://www.361sale.com/wp-content/uploads/2024/09/2024091102453379.png)
If you want to add is below, click on Add Symbol on the right hand side
![图片[3]-全面解析Avada主题首页排版与容器设置技巧(04)-光子波动网 | WordPress教程、Elementor教程与故障修复](https://www.361sale.com/wp-content/uploads/2024/09/2024091102455159.png)
If you want to set the current settings for the containers in this column, select the pen symbol on the right side
![图片[4]-全面解析Avada主题首页排版与容器设置技巧(04)-光子波动网 | WordPress教程、Elementor教程与故障修复](https://www.361sale.com/wp-content/uploads/2024/09/2024091102520637.png)
![图片[5]-全面解析Avada主题首页排版与容器设置技巧(04)-光子波动网 | WordPress教程、Elementor教程与故障修复](https://www.361sale.com/wp-content/uploads/2024/09/2024091102525232.png)
Then there will be a corresponding container settings, such as width, style, spacing and what device to display ah and so on
![图片[6]-全面解析Avada主题首页排版与容器设置技巧(04)-光子波动网 | WordPress教程、Elementor教程与故障修复](https://www.361sale.com/wp-content/uploads/2024/09/2024091102541850.png)
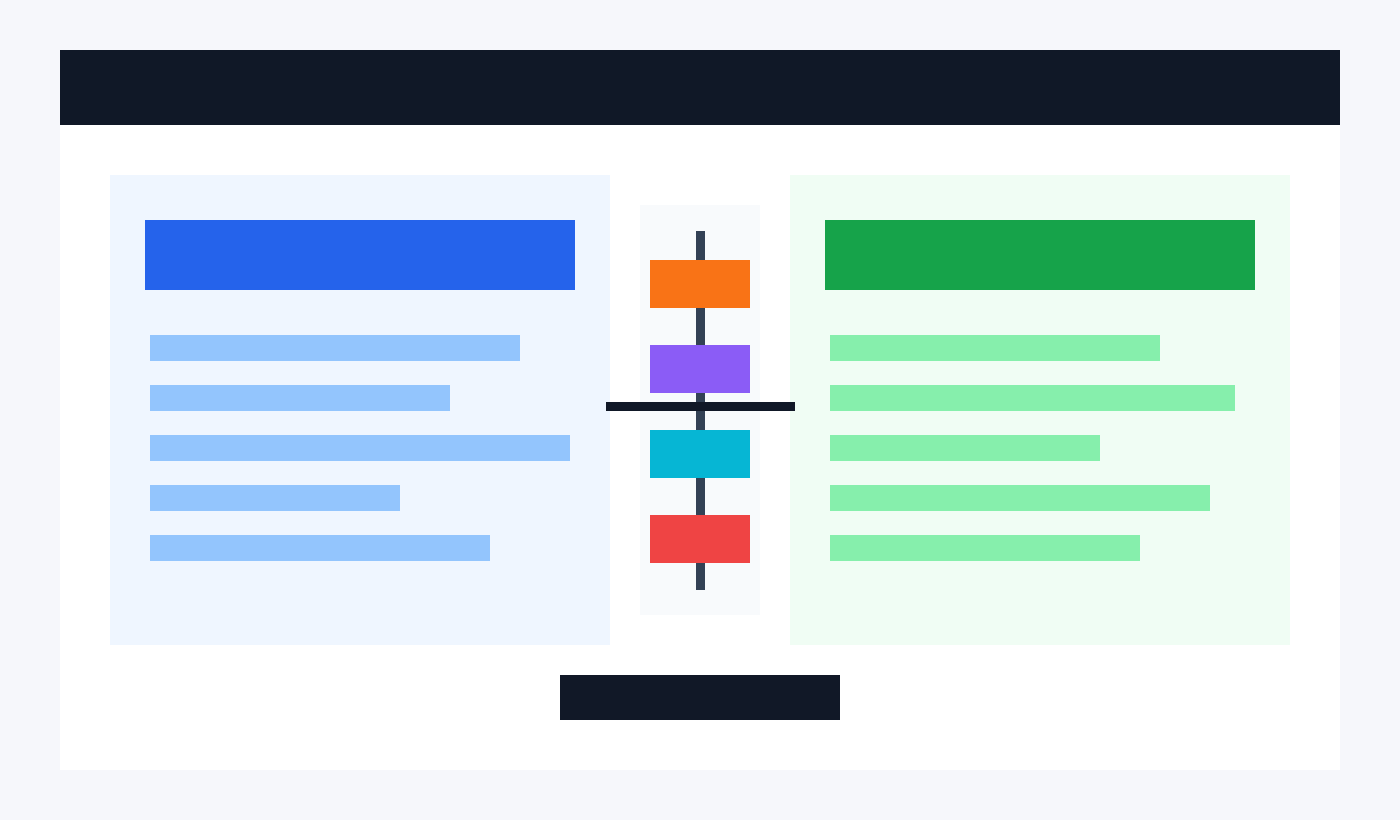
As shown above, Avada theme comes with the editor, for the outer frame and inner frame adjustment he is visualized, for elmentor and WPBakery Page Builder editor, you also need to click and then set up the advanced inside, can be too much convenience!
On the way blue is the inner frame, purple is the outer frame, is directly pullable, both up and down or on both sides, this point is still very well done
![图片[7]-全面解析Avada主题首页排版与容器设置技巧(04)-光子波动网 | WordPress教程、Elementor教程与故障修复](https://www.361sale.com/wp-content/uploads/2024/09/2024091103020026.png)
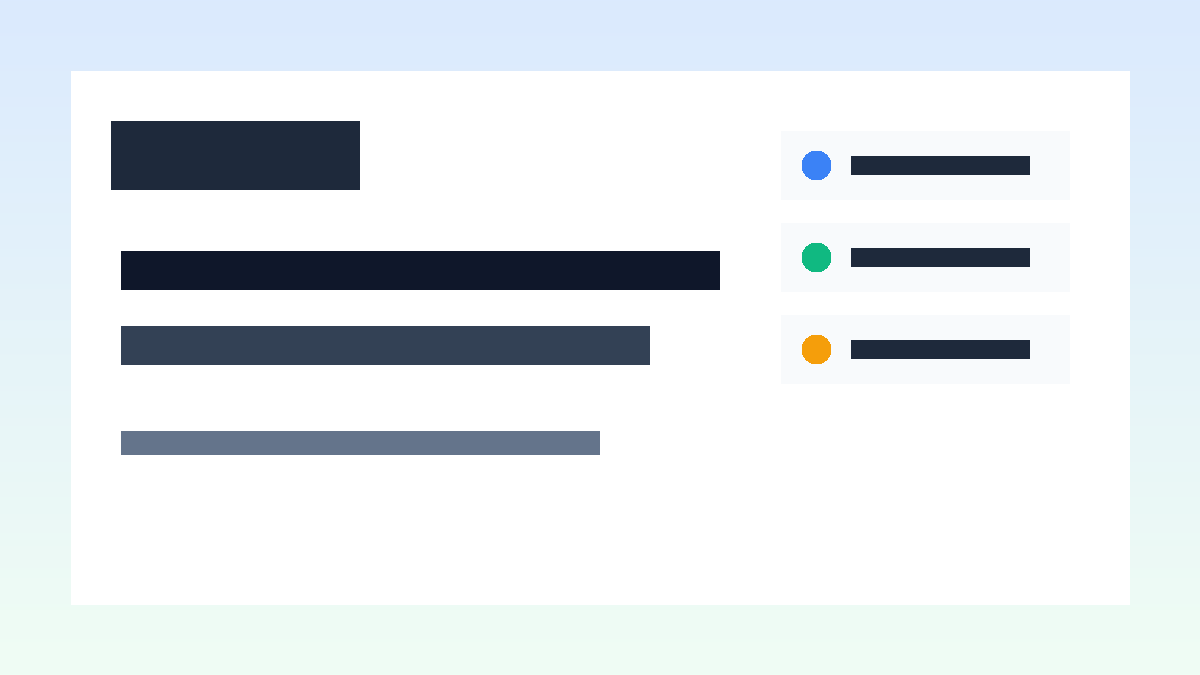
Then after adding it, a popup will appear to select the container style (as shown below)
I think it's also a good design, he doesn't allow modules to stand alone, a container has to control the module, but elmentor and the WPBakery Page Builder editor are the ones that allow modules to stand alone
![图片[8]-全面解析Avada主题首页排版与容器设置技巧(04)-光子波动网 | WordPress教程、Elementor教程与故障修复](https://www.361sale.com/wp-content/uploads/2024/09/2024091103070253.png)
style basically covered, do not need to manually set up the arrangement again, the advantage is that there is no need to worry about their own containers will have a bad arrangement of the effect, I'm talking about if there are more than four columns or more, where basically covered, there is no need to go to manually set up the container, but the elmentor and the WPBakery Page Builder editor is that you can add more containers, of course! There are also more uncontrollable, such as the arrangement of the distortion or front-end display is not neat, of course, this customization of the space higher
![图片[9]-全面解析Avada主题首页排版与容器设置技巧(04)-光子波动网 | WordPress教程、Elementor教程与故障修复](https://www.361sale.com/wp-content/uploads/2024/09/2024091103215020.png)
As shown above, we add is a 1/1 container, also on a container layout, and then we click Add Module, (as shown below)
![图片[10]-全面解析Avada主题首页排版与容器设置技巧(04)-光子波动网 | WordPress教程、Elementor教程与故障修复](https://www.361sale.com/wp-content/uploads/2024/09/2024091103233435.png)
Is not the feeling that there are too many modules, then if you are a certain level of proficiency, you can try the search in the upper right corner, of course, newcomers are recommended to still look for this page, more operations
![图片[11]-全面解析Avada主题首页排版与容器设置技巧(04)-光子波动网 | WordPress教程、Elementor教程与故障修复](https://www.361sale.com/wp-content/uploads/2024/09/2024091103261598.png)
This is the text block, or text module, which is also the most used
![图片[12]-全面解析Avada主题首页排版与容器设置技巧(04)-光子波动网 | WordPress教程、Elementor教程与故障修复](https://www.361sale.com/wp-content/uploads/2024/09/2024091103270935.png)
Click on the pen symbol in the center (edit) Note that all the side ones are container settings, if it's a module click on the center one
Steps: Frontend→Edit Live→ADD COLUMNS→Text Block
![图片[13]-全面解析Avada主题首页排版与容器设置技巧(04)-光子波动网 | WordPress教程、Elementor教程与故障修复](https://www.361sale.com/wp-content/uploads/2024/09/2024091103314383.png)
Then there are a number of settings, text content, text position, and device presentation
![图片[14]-全面解析Avada主题首页排版与容器设置技巧(04)-光子波动网 | WordPress教程、Elementor教程与故障修复](https://www.361sale.com/wp-content/uploads/2024/09/2024091103322199.png)
This is not recommended, it might ruin the layout
![图片[15]-全面解析Avada主题首页排版与容器设置技巧(04)-光子波动网 | WordPress教程、Elementor教程与故障修复](https://www.361sale.com/wp-content/uploads/2024/09/2024091103331456.png)
Click on the question mark will also have the corresponding explanation, if you want to get a column of more than one, directly with the container of the multi-column layout on the line, this is more compatible, there will be no front-end settings are not compatible with the situation!
![图片[16]-全面解析Avada主题首页排版与容器设置技巧(04)-光子波动网 | WordPress教程、Elementor教程与故障修复](https://www.361sale.com/wp-content/uploads/2024/09/2024091103344196.png)
Of course in Design (design) will also have the color background and inner distance settings, according to you is the actual situation to
Pushbutton Module
Steps: Frontend→Edit Live→ADD COLUMNS→Button
![图片[17]-全面解析Avada主题首页排版与容器设置技巧(04)-光子波动网 | WordPress教程、Elementor教程与故障修复](https://www.361sale.com/wp-content/uploads/2024/09/2024091103371276.png)
![图片[18]-全面解析Avada主题首页排版与容器设置技巧(04)-光子波动网 | WordPress教程、Elementor教程与故障修复](https://www.361sale.com/wp-content/uploads/2024/09/2024091103372813.png)
Then we can set some information of the button on the left side, such as the link, button text, and the format of the button jump, etc. (as shown below)
![图片[19]-全面解析Avada主题首页排版与容器设置技巧(04)-光子波动网 | WordPress教程、Elementor教程与故障修复](https://www.361sale.com/wp-content/uploads/2024/09/2024091103395818.png)
If you don't understand what each setting means, you can check the corresponding question marks are explained, this is the details of a good theme!
![图片[20]-全面解析Avada主题首页排版与容器设置技巧(04)-光子波动网 | WordPress教程、Elementor教程与故障修复](https://www.361sale.com/wp-content/uploads/2024/09/2024091103413660.png)
Design: Here you can set the style of the button, as well as the icon, button size, etc.
Steps: Frontend→Edit Live→ADD COLUMNS→image
Image Module
![图片[21]-全面解析Avada主题首页排版与容器设置技巧(04)-光子波动网 | WordPress教程、Elementor教程与故障修复](https://www.361sale.com/wp-content/uploads/2024/09/2024091106263450.png)
Click Edit, then replace the image, upload it in the media library or locally, and add the link to complete the basic image jump!
![图片[22]-全面解析Avada主题首页排版与容器设置技巧(04)-光子波动网 | WordPress教程、Elementor教程与故障修复](https://www.361sale.com/wp-content/uploads/2024/09/2024091106270558.png)
In Design (design) processing can be adjusted to the maximum width and position, etc., there is a picture can be set outside, you can understand a container control picture, is a mask, or quite interesting!
![图片[23]-全面解析Avada主题首页排版与容器设置技巧(04)-光子波动网 | WordPress教程、Elementor教程与故障修复](https://www.361sale.com/wp-content/uploads/2024/09/2024091106295526.png)
![图片[24]-全面解析Avada主题首页排版与容器设置技巧(04)-光子波动网 | WordPress教程、Elementor教程与故障修复](https://www.361sale.com/wp-content/uploads/2024/09/2024091106322822.png)
You can also set the position of this mask, the size, and whether the image is duplicated, etc.
Caption, you can also design a caption for the image.
![图片[25]-全面解析Avada主题首页排版与容器设置技巧(04)-光子波动网 | WordPress教程、Elementor教程与故障修复](https://www.361sale.com/wp-content/uploads/2024/09/2024091106343860.png)
There are many types with different header positions, you choose according to your actual situation
![图片[26]-全面解析Avada主题首页排版与容器设置技巧(04)-光子波动网 | WordPress教程、Elementor教程与故障修复](https://www.361sale.com/wp-content/uploads/2024/09/2024091106361634.png)
Red because the background color is set to red
![图片[27]-全面解析Avada主题首页排版与容器设置技巧(04)-光子波动网 | WordPress教程、Elementor教程与故障修复](https://www.361sale.com/wp-content/uploads/2024/09/2024091106385125.png)
![图片[28]-全面解析Avada主题首页排版与容器设置技巧(04)-光子波动网 | WordPress教程、Elementor教程与故障修复](https://www.361sale.com/wp-content/uploads/2024/09/2024091106373828.png)
As shown above, it is possible to change the
All modules are animated in the last setting (Extras)
![图片[29]-全面解析Avada主题首页排版与容器设置技巧(04)-光子波动网 | WordPress教程、Elementor教程与故障修复](https://www.361sale.com/wp-content/uploads/2024/09/2024091106405123.png)
The following can be left alone, some modules do not have this
summarize
With this tutorial, I'm sure you've gained a more in-depth understanding of the Avada theme's homepage layout. From the selection of containers to the setup of modules, we see how the Avada editor simplifies the layout operation. If you find this installment helpful, welcome to stay tuned with us, and we will continue to explain more tips and tricks about Avada theme in the next installment to help you build a professional website with more flexibility.

Link to this article:https://www.361sale.com/en/19413/The article is copyrighted and must be reproduced with attribution.


![表情[wozuimei]-光子波动网 | WordPress教程、Elementor教程与故障修复](https://www.361sale.com/wp-content/themes/zibll/img/smilies/wozuimei.gif)
![表情[baoquan]-光子波动网 | WordPress教程、Elementor教程与故障修复](https://www.361sale.com/wp-content/themes/zibll/img/smilies/baoquan.gif)


No comments