


existWooCommerceMiddle.Product labeling and metadataIt can improve category management, SEO and user experience. Proper settings can make product information clearer, easier to read, and optimize search rankings. The following teaches you how to quickly enable and configure these features to create a more professional product showcase page.
![Image [1] - How to activate and set up custom tags and metadata with WooCommerce: a practical guide to accurately optimize product information](https://www.361sale.com/wp-content/uploads/2025/06/20250607113844691-image.png)
I. What are custom tags and metadata?
Customized Tags It is a keyword used to categorize products by topic, which can help users find related products quickly.
Meta data It is additional data stored in the product information, such as SEO title, description, product brand, material, barcode, stock location, etc., which can be used both for display and for system logic and search optimization.
Second, why use custom tags and metadata?
- Enhanced SEO Performance: Improve search rankings with precise keywords and descriptions.
- Improving the user experience: Convenient for customers to filter, search and compare different products.
- Optimize management efficiency: Easy batch operation and tracking of product details in the backend.
- Increase Conversion Rate: A clearer presentation helps users make faster buying decisions.
Third, WooCommerce how to set up product labels
WooCommerce Native support for product labeling settings, no plugin required.
The setting method is as follows:
- Log in to the WordPress backend;
- Go to [Products] > [Labels];
- Add a new tag with name, alias (slug) and description;
- When adding or editing a product, enter or select an existing label in the label field on the right.
Tags are usually displayed as hyperlinks on product pages, and users can browse all products with the same tag after clicking on them.
![Image [2] - How to activate and set up custom tags and metadata with WooCommerce: a practical guide to accurately optimizing product information](https://www.361sale.com/wp-content/uploads/2025/06/20250607104918668-image.png)
IV. How to add and manage custom metadata
WooCommerce itself supports some basic fields, but for fully customizable metadata (e.g. brand, SKU location, material, etc.), it is recommended to use a plugin to achieve more extended functionality.
Recommended Plugins:Advanced Custom Fields (ACF)
Step 1: Install and Activate ACF Plugin
- Click [Plugin] > [Add Plugin] in the background and search for "Advanced Custom Fields";
- Install and enable the plugin.
![Image [3] - How to activate and set up custom tags and metadata with WooCommerce: a practical guide to accurately optimizing product information](https://www.361sale.com/wp-content/uploads/2025/06/20250607105241105-image.png)
Step 2: Create a new meta field group
- Access to the ACF backend
- Adding Custom Fields
- strike (on the keyboard) "Add Field" button to set the field type (e.g. Text, Number, Range, etc.).
- Fill in field labels (e.g. "Product Specifications" "Special Instructions") and configure other options (required or not, default values, etc.).
![Image [4] - How to activate and set up custom tags and metadata with WooCommerce: a practical guide to accurately optimizing product information](https://www.361sale.com/wp-content/uploads/2025/06/20250609092931946-image.png)
- Setting the field display position
- exist "Location" In the rules, the choice is made:
- Show this field group if → Post Type → is equal to → Product
(Make sure that the field group only works on WooCommerce product pages).
- Show this field group if → Post Type → is equal to → Product
- exist "Location" In the rules, the choice is made:
![Image [5] - How to activate and set up custom tags and metadata with WooCommerce: a practical guide to accurately optimize product information](https://www.361sale.com/wp-content/uploads/2025/06/20250609095135981-image.png)
- Save Field Groups
![Image [6] - How to activate and set up custom tags and metadata with WooCommerce: a practical guide to accurately optimize product information](https://www.361sale.com/wp-content/uploads/2025/06/20250609095455682-image.png)
Step Three:Filling in Metadata on WooCommerce Product Pages
- Fill in the fields
- Enter the corresponding field label and field name (e.g. "Material: Cotton") in the ACF field group.
![Image [7] - How to activate and set up custom tags and metadata with WooCommerce: a practical guide to accurately optimize product information](https://www.361sale.com/wp-content/uploads/2025/06/20250609100400735-image.png)
- Edit product
- go into Products → All Products, select any product to go to the edit page.
- Scroll to the bottom of the page (or where the field group is set) to see the custom field areas added by ACF.
![Image [8] - How to activate and set up custom tags and metadata with WooCommerce: a practical guide to accurately optimize product information](https://www.361sale.com/wp-content/uploads/2025/06/20250609100821988-image.png)
- Save Updates
- strike (on the keyboard) "Update" Save the product and the custom metadata will be associated with it.
![Image [9] - How to activate and set up custom tags and metadata with WooCommerce: a practical guide to accurately optimize product information](https://www.361sale.com/wp-content/uploads/2025/06/20250609100911205-image.png)
V. Getting custom metadata displayed on front-end product pages
By default, custom fields are not displayed directly on the product page. You can add them in two ways:
Method 1: Use theme code to add display
In your theme's child theme file, find the content-single-product.phpAdd the following code (for example, "Brand"):
<?php
$brand = get_field('品牌');
if ($brand) {
    echo '<p><strong>品牌:</strong>' . esc_html($brand) . '</p>';
}
?>
Method 2: Use a page builder (e.g.Elementor Pro)
- Edit the product page template using Elementor;
![Image [10] - How to activate and set up custom tags and metadata with WooCommerce: a practical guide to accurately optimize product information](https://www.361sale.com/wp-content/uploads/2025/06/20250607134648624-image.png)
- You can do this in Elementor widgets (e.g. Text Editor, Heading, Image, etc.) by clicking on the Dynamic Label icon in the upper right corner and selecting the ACF field
![Image [11] - How to activate and set up custom tags and metadata with WooCommerce: a practical guide to accurately optimize product information](https://www.361sale.com/wp-content/uploads/2025/06/20250609102421668-image.png)
- Select the corresponding ACF field to display the corresponding metadata on the page.
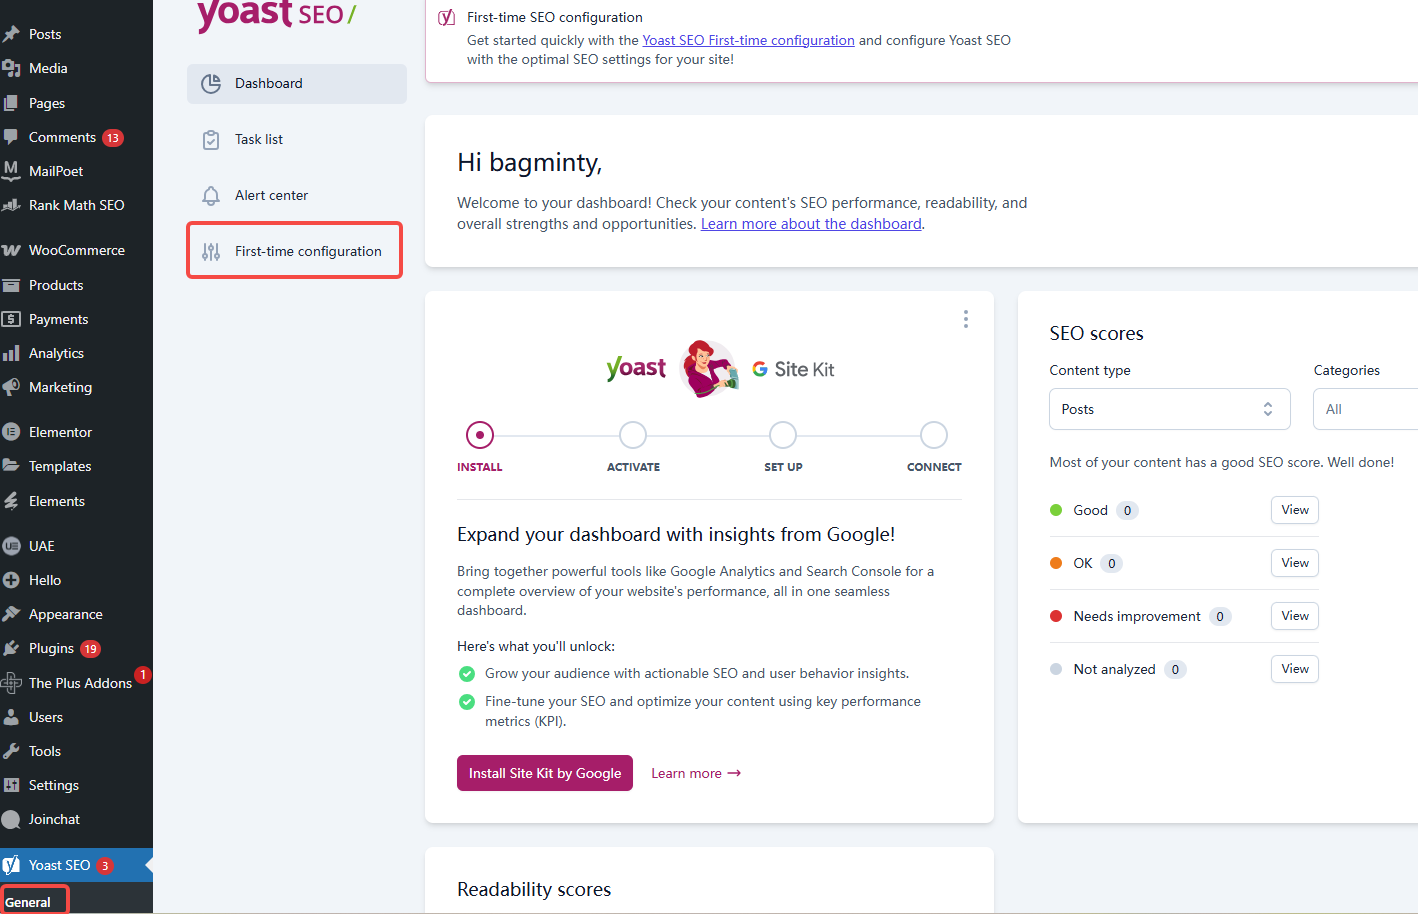
Sixth, set SEO-related metadata (title, description, keywords)
It is recommended to use with SEO plugins such as Yoast SEO maybe Rank Math SEO::
- Install and enable the plugin;
- When editing a product, fill in the SEO title and description in the SEO module below;
- Product name, price, category and other data can be read automatically, and custom meta keywords can be added manually.
![Image [12] - How to activate and set up custom tags and metadata with WooCommerce: a practical guide to accurately optimize product information](https://www.361sale.com/wp-content/uploads/2025/06/20250607112640539-image.png)
VII. Bulk management of tags and metadata (advanced techniques)
Use plug-ins:Product Import Export for WooCommerce
![Image [13] - How to activate and set up custom tags and metadata with WooCommerce: a practical guide to accurately optimize product information](https://www.361sale.com/wp-content/uploads/2025/06/20250609093330957-image.png)
Supports batch import or export of product labels and custom metadata fields via CSV files.
- Ideal for stores with a large number of items and frequent updates;
- Can be edited with Excel for efficiency.
VIII. Summary
WooCommerce Custom tags and metadata It can significantly improve management efficiency, user experience and SEO effect. Proper use of these functions can make product information more professional and enhance the competitiveness of the store.

Link to this article:https://www.361sale.com/en/58135The article is copyrighted and must be reproduced with attribution.


![Emoji[wozuimei]-Photonflux.com | Professional WordPress repair service, worldwide, rapid response](https://www.361sale.com/wp-content/themes/zibll/img/smilies/wozuimei.gif)
![Emoticon[baoquan] - Photon Wave Network | Professional WordPress Repair Services, Worldwide Coverage, Rapid Response](https://www.361sale.com/wp-content/themes/zibll/img/smilies/baoquan.gif)


No comments