


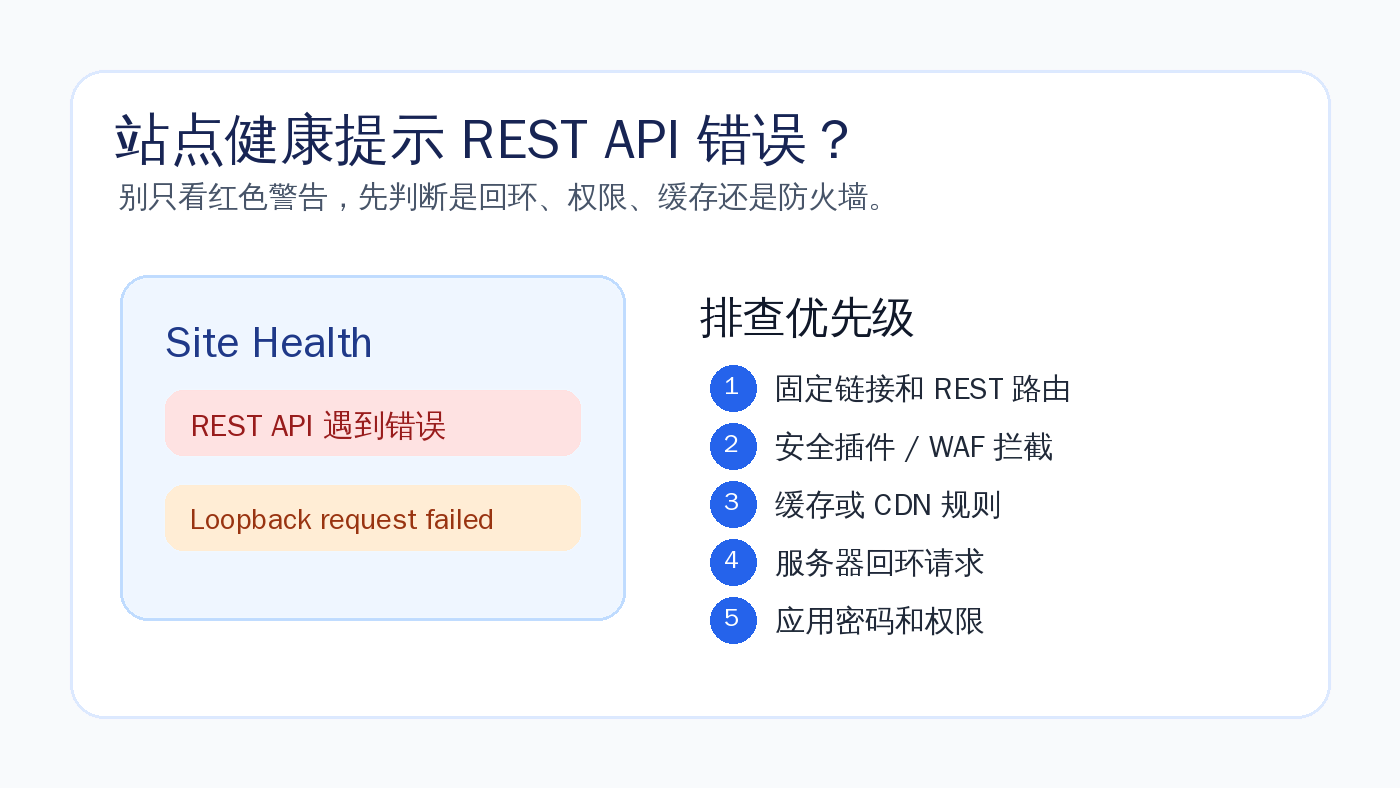
WordPress be in favor ofmulti-siteMultisite allows you to create multiple independent sub-sites within the same installation. The WP-CLI tool is ideal for efficiency-conscious developers or site administrators who want to get things up and running more quickly than they would if they had to configure them manually.
This article will describe how to use the WP-CLI Enabling WordPress Multisite, including the necessary commands and configuration steps.
![Image[1]-Using WP-CLI to quickly build WordPress multi-site environment tutorials](https://www.361sale.com/wp-content/uploads/2025/07/20250707103826550-image.png)
I. Preliminary preparations
Make sure that WP-CLI is installed on the server and meets the basic requirements for running multisite, such as using Apache or Nginx,PHP with the database version up to standard. If WP-CLI is not already installed, refer to the previous article:
👉 Linux Installation WP-CLI Tutorial
II. Operational process
1. Enter the WordPress root directory
First open a terminal and switch to the WordPress installation directory. For example, if WordPress is installed in /var/www/wordpress, can be executed:
cd /var/www/wordpress
2. Initializing multisite
Execute the following command to start multisite mode and automatically write the configuration to the wp-config.php::
wp core multisite-install --title="WP Network" --admin_user="wpgan_superadmin" --admin_password="superadmin_pass" --admin_email=" [email protected]"
Command Description:
---title: Set the site network name, can be named arbitrarily--admin_user: Network administrator username--admin_password: Administrator password--admin_email: Administrator e-mail address
After modifying the above parameters to your own information, run it directly to complete the multisite initialization.
3. Configuration rewrite rules
After completing the initialization, you need to set up the server URL Rewrite rules. Here's an example for Apache, open the .htaccess Documentation:
sudo vi .htaccess
Paste the following in:
RewriteEngine On
RewriteBase /
RewriteRule ^index.php$ - [L]

RewriteRule ^([_0-9a-zA-Z-]+/)?wp-admin$ $1wp-admin/ [R=301,L]

RewriteCond %{REQUEST_FILENAME} -f [OR]
RewriteCond %{REQUEST_FILENAME} -d
RewriteRule ^ - [L]
RewriteRule ^([_0-9a-zA-Z-]+/)? (wp-(content|admin|includes). *) $2 [L]
RewriteRule ^([_0-9a-zA-Z-]+/)? (. *.php)$ $2 [L] RewriteRule .
RewriteRule . index.php [L]
This set of rules applies to multisites created as subdirectories, for example example.com/site1,example.com/site2. If you use the subdomain approach (e.g. site1.example.com), then a separate rule would need to be written.
4. Access to back-office management networks
After all the configurations are done, log in to the WordPress backend. Once you enter the system as administrator, you will see the new "Site Network Management" menu item. From here, you can add sub-sites, manage themes and plugins in a unified way, view network settings, and more.
III. Summary
For scenarios where you need to centrally maintain multiple websites, multisite functionality is a very practical solution. The use of WP-CLI Building multisite is a clean and clear process that can save you a lot of time. Whether you're a website builder, a development team, or an individual webmaster with multiple WordPress projects, it's worth trying this approach to building and maintaining a multisite environment.

Link to this article:https://www.361sale.com/en/65968/The article is copyrighted and must be reproduced with attribution.


![Emoji[wozuimei]-Photonflux.com | Professional WordPress repair service, worldwide, rapid response](https://www.361sale.com/wp-content/themes/zibll/img/smilies/wozuimei.gif)
![Emoticon[baoquan] - Photon Wave Network | Professional WordPress Repair Services, Worldwide Coverage, Rapid Response](https://www.361sale.com/wp-content/themes/zibll/img/smilies/baoquan.gif)


No comments