


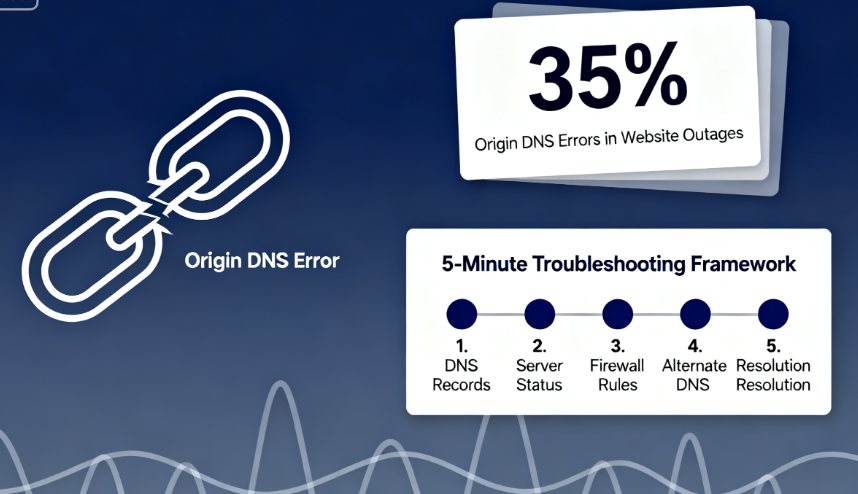
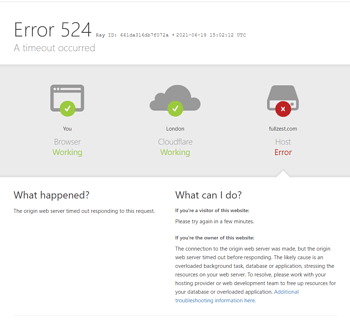
When a website encounters Origin DNS errorWhen downtime occurs, every minute of inaccessibility can mean lost traffic and reputation. Statistics show that approximately 351 out of every 3T websites experience unexpected interruptions directly linked to DNS configuration issues. In such urgent situations, systematic rapid self-diagnosis proves more effective than blind trial and error. This guide provides a structured troubleshooting framework that can be completed within five minutes, helping you efficiently pinpoint the root cause and execute repairs.
Chapter 1: Preliminary Assessment Before Emergency Response
Before diving into a thorough investigation, perform two basic checks to rule out some obvious factors.
1.1 Identify the Scope of the Malfunction
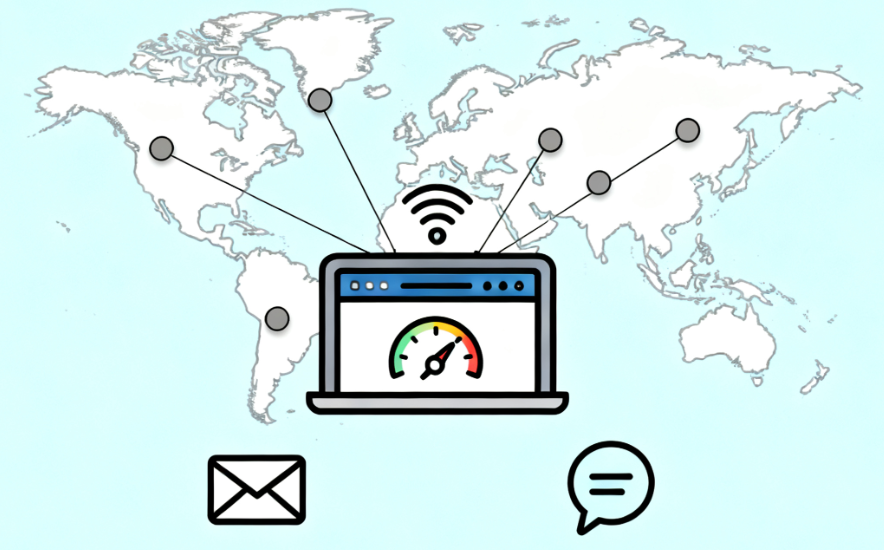
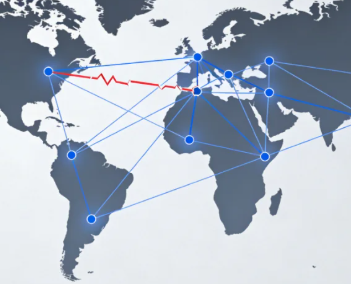
First, determine whether the issue is isolated or widespread. Switch your phone to mobile data (not Wi-Fi) and try accessing the website again. Additionally, ask friends or colleagues in different cities or countries to test the site.
- Results AnalysisIf only you are unable to access it while others can access it normally, the issue is likely with your local network or device.DNS CacheIf none of the testers can access the site, it is generally determined to be a global issue at the website server or domain name resolution level.
1.2 Check Domain Registration Status
Domain name expirationOne of the most direct causes of complete DNS resolution failure. Visit any public "Whois lookup" service website and enter your domain name to perform a query.
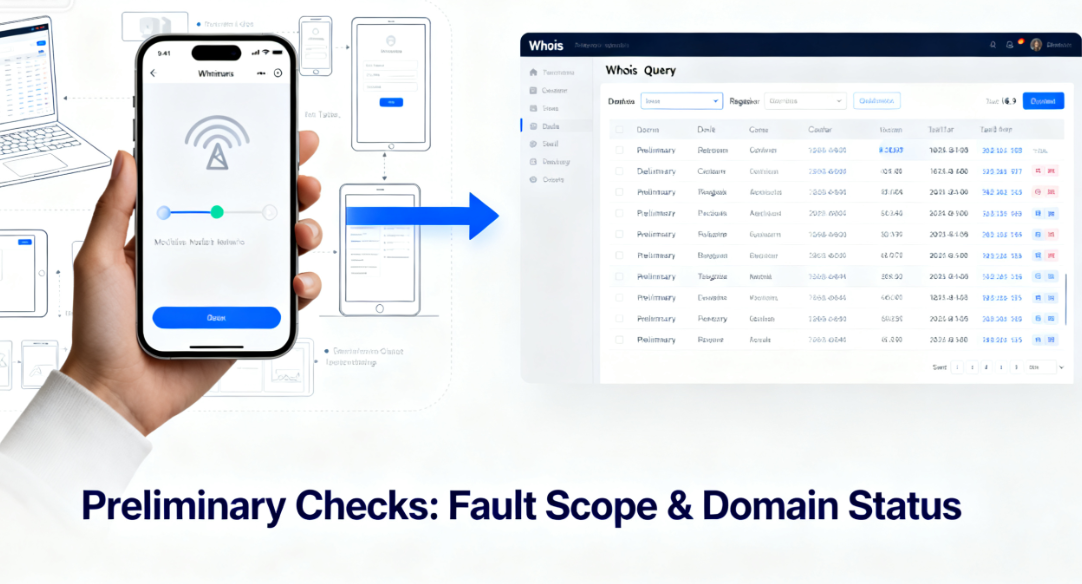
- Key Inspection ItemsFocus on the "Registrar," "Status," and "Expiration Date" fields. If the domain has expired, the status may display as "clientHold" or "pendingDelete." After domain renewal, it typically takes several hours to 48 hours for the domain to fully propagate across the global DNS system.
Chapter 2: Core Cause List and Corresponding Fix Instructions
Below are the most common causes of Origin DNS errors, along with direct troubleshooting steps. Please troubleshoot in order or based on your intuition.
2.1 DNS Record Configuration Error
This is the most common technical reason: the DNS records pointing to the origin server are configured incorrectly.
- The A record points to an incorrect IP address.Log in to your domain's DNS management panel (usually found at your domain registrar or on platforms like Cloudflare). Check the primary domain (e.g.,
example.comand subdomains (such aswww.example.com(used for emphasis)A recordCompare this record value with the correct origin server IP address provided by your hosting service provider.- Repair operationCorrect the incorrect IP address and save the changes. Note that after modification, you need to wait for DNS propagation to take effect globally.
- The CNAME record points to an incorrect or invalid domain.If your record isCNAME record typeCheck the target domain it points to (for example, pointing to
www.example.comCNAME points toexample.comConfirm that the target domain name itself has been correctly configured with an A record and can be resolved.- Repair operationEnsure the CNAME record points to a valid domain name with a properly configured A record.
2.2 Host Server IP Address Change
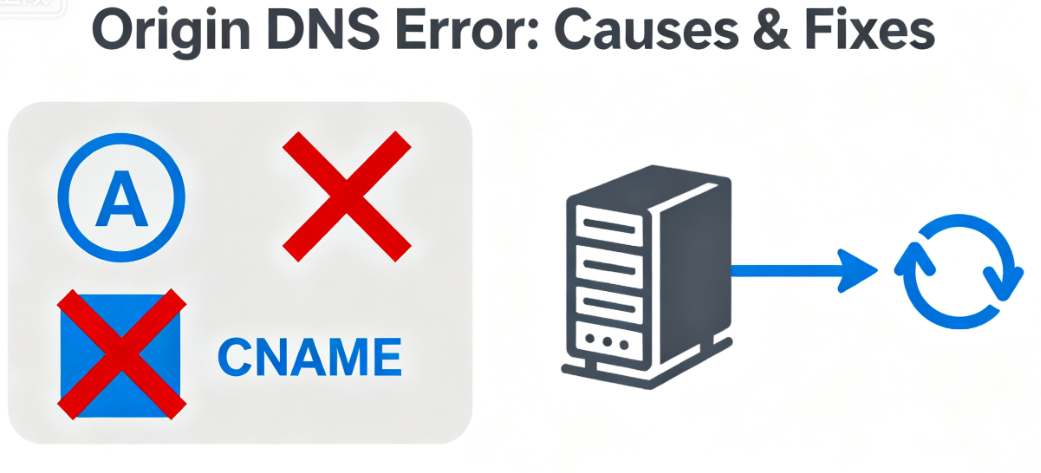
Your website may have been migrated to a new host, but the DNS records have not been updated accordingly.
- Method of DeterminationContact your hosting provider's customer service or log in to your hosting control panel (such as cPanel) to verify the dedicated IP address currently assigned to your website account.
- Repair operationUpdate your A record in the DNS management panel to the latest IP address confirmed by your hosting provider.
2.3 DNS Caching Issues
Outdated DNS records are cached on local computers, local routers, or servers belonging to upstream Internet Service Providers.
- Local computer cache refresh::
- Windows operating systemOpen Command Prompt and enter
ipconfig /flushdnsThen press Enter. - macOS systemOpen Terminal and enter
sudo killall -HUP mDNSResponderPress Enter, and you may be prompted to enter your password.
- Windows operating systemOpen Command Prompt and enter
- Router Cache ClearThe simplest solution is to restart your home or office broadband router.
- Switching Public DNS ServersYou can temporarily change the DNS server address in your local network settings to
1.1.1.1(Cloudflare) or8.8.8.8(Google), to bypass potentially problematic ISP DNS caching.

2.4 Incorrect Origin Server Information in CDN Service Configuration
If a website uses a CDN service like Cloudflare, the CDN needs to know your actual origin server address to fetch data from the origin.
- Check LocationLog in to your CDN provider's control panel, locate your website configuration, and check the "Origin Server" field.
- Repair operationEnsure that the field contains the correct IP address or hostname of your origin server. This address must be directly resolvable without going through the CDN. If the address is incorrect, the CDN will report a DNS error due to being unable to locate the origin server.
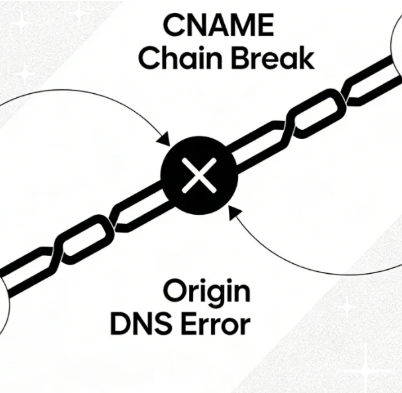
2.5 The origin server itself is unavailable.
The DNS records are entirely correct, but the target server is offline due to a malfunction.
- Diagnostic MethodsAfter confirming the correctness of the IP address pointed to by the DNS record, use "ping (computing)Test the connectivity of this IP address. At the command prompt, enter:
ping [Your source server IP]The - Interpretation of ResultsIf you encounter a "request timeout" or 100% packet loss, it indicates that data packets cannot reach the server. In this case, you should immediately contact your hosting provider to report the server being offline or a network outage.
Chapter 3: Structured Troubleshooting Flowchart
To provide more intuitive guidance, please follow this sequence for troubleshooting decisions:
Detected Origin DNS Error ↓ Check domain Whois status (Is it expired?) ├─> Yes → Renew domain immediately and wait for activation. ↓ └─> No → Perform multi-location access test (Is it only a local issue?)
            ├─> Yes → Flush local and router DNS cache, or switch to public DNS. ↓ └─> No → Log into DNS management panel, verify A record/CNAME record values. ├─> Record incorrect → Correct to correct origin server IP or hostname.
                  ↓ └─> Records correct → Check if using CDN? ├─> Yes → Log into CDN panel, verify "Origin Server" settings. ↓ ├─> Settings incorrect → Correct origin server information in CDN. │ └─> Settings correct → Contact CDN technical support.
                        ↓ └─> No → Test origin server IP connectivity using ping. ├─> Unreachable → Immediately contact hosting provider to report server issue. └─> Reachable → Issue may be more complex; check server firewall or port configuration.
Chapter 4: Post-Repair Verification and Monitoring
After performing any repair operation, effective validation must be conducted.
4.1 Verify DNS Record Updates
Use the global DNS lookup tool again, enter your domain name, and select the A record type for the query. Observe whether the resolution results from different locations worldwide are updating to your newly configured values. This process, known as DNS propagation, may take anywhere from a few minutes to 48 hours.
4.2 Testing the Final Accessibility of the Website
After waiting for a period of time, access your website from different network environments (such as office networks, home networks, or mobile data). Test not only the homepage but also click through several inner pages or load resources like images to ensure full functionality has been restored.
4.3 Establish a Long-Term Monitoring Mechanism
Consider using a website monitoring service. These services periodically access your website from multiple global locations. If they detect downtime or DNS resolution failures, they immediately notify you via email, text message, or other methods, allowing you to address the issue before widespread user complaints arise.
summarize
The key to resolving Origin DNS Errors lies in maintaining calm and proceeding methodically.Follow a troubleshooting logic from broad to narrow, external to internal: First, rule out global domain name expiration issues. Next, identify the scope of the failure. Then, delve into DNS records and CDN configurations for verification. Finally, validate server status. The checklist and process provided in this manual transform complex fault isolation into a series of actionable checks, enabling you to complete an initial diagnosis within five minutes and take the correct corrective actions, minimizing website downtime.

Link to this article:https://www.361sale.com/en/81827The article is copyrighted and must be reproduced with attribution.


![Emoji[wozuimei]-Photonflux.com | Professional WordPress repair service, worldwide, rapid response](https://www.361sale.com/wp-content/themes/zibll/img/smilies/wozuimei.gif)
![Emoticon[baoquan] - Photon Wave Network | Professional WordPress Repair Services, Worldwide Coverage, Rapid Response](https://www.361sale.com/wp-content/themes/zibll/img/smilies/baoquan.gif)


No comments