


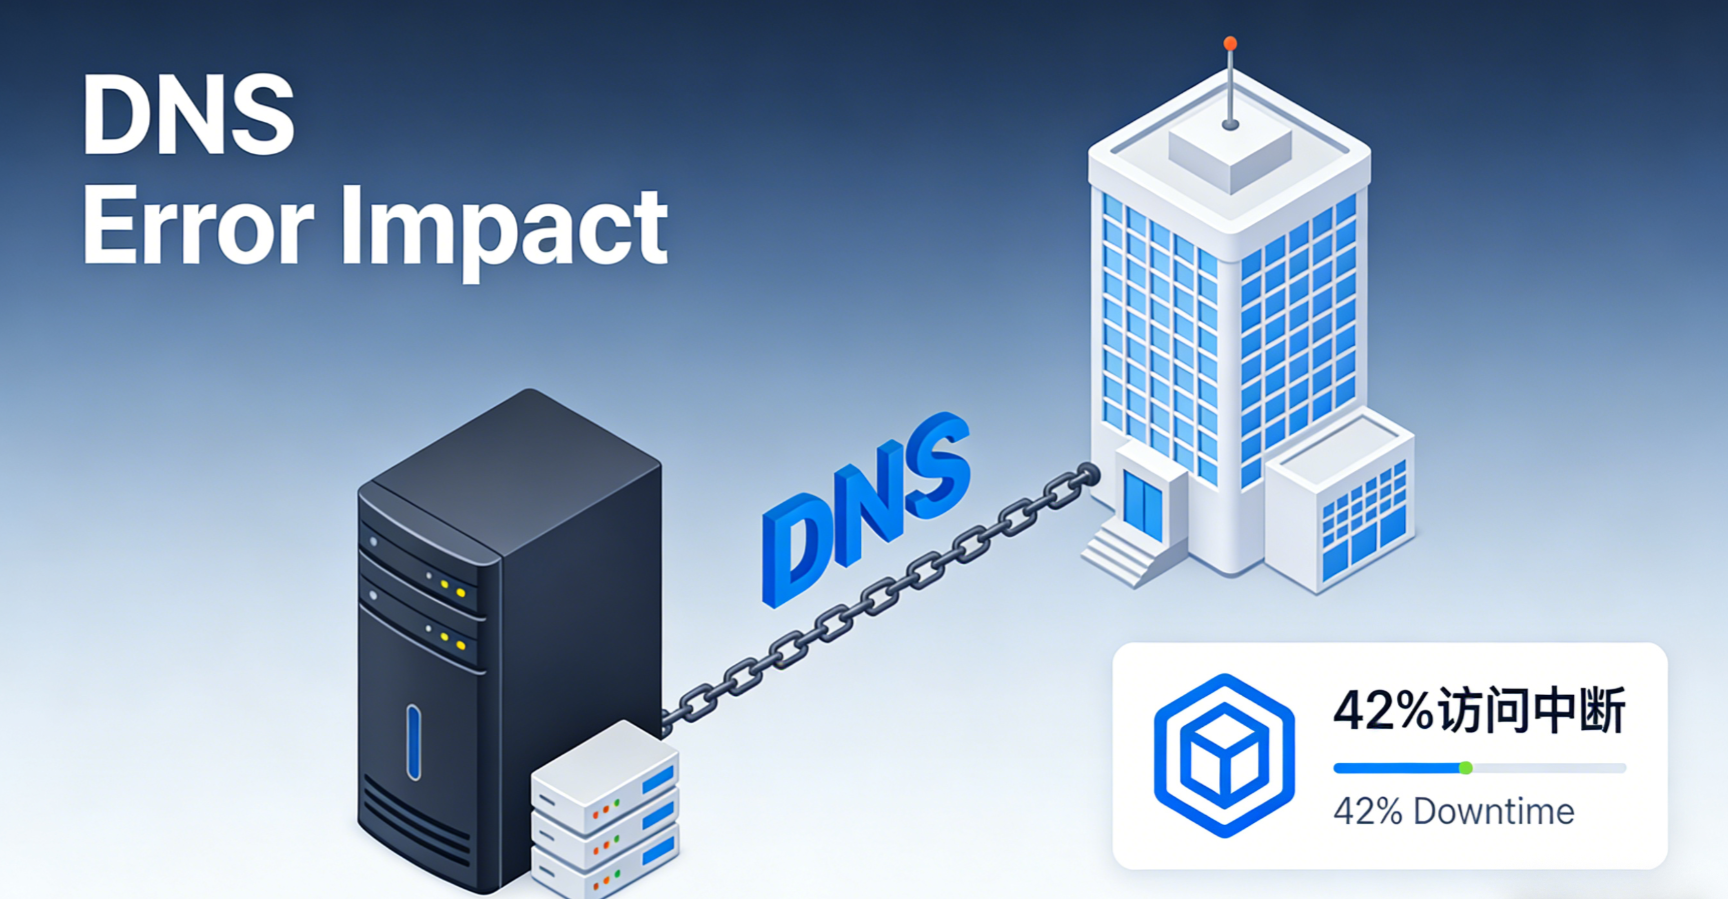
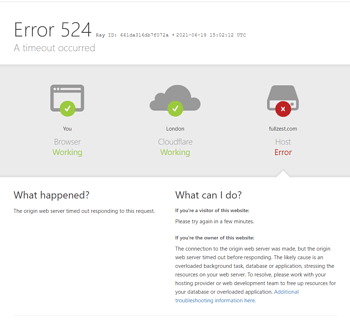
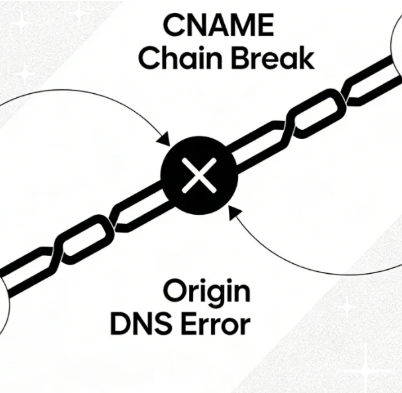
Website migration—whether switching hosting servers or transferring domain ownership—is akin to relocating an entire digital building. Any oversight at the DNS level during this process can lead toOrigin DNS Errorrendering the new home inaccessible.
Data indicates that the 421 TP3T access interruptions during the migration were directly attributable to DNS configuration issues, withTTL Value SettingErrors account for 31% of all interruptions. This paper provides a comprehensive operational framework spanning prevention to remediation, aiming to reduce migration risks by approximately 70% and ensure rapid issue identification and recovery when problems occur.
Chapter 1: Pre-Migration Planning: Preset Steps to Mitigate Risks
A successful migration begins with thorough preparation, especially at the DNS level. Taking action early creates a buffer for subsequent operations.
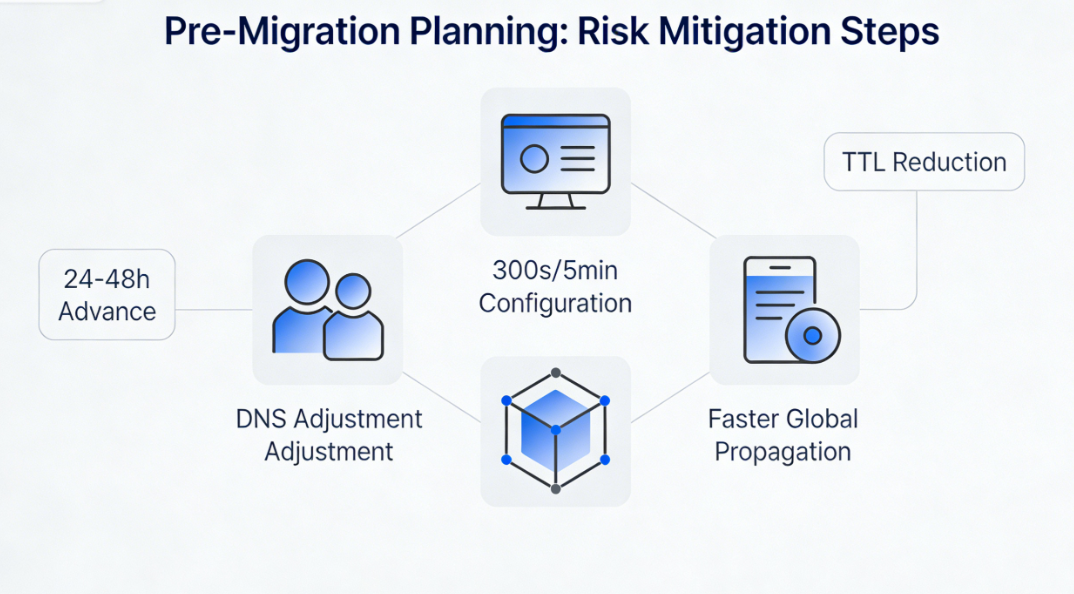
1.1 Reduce the TTL value of existing DNS records
The TTL (Time-To-Live) determines how long DNS records are retained in caches at each level. At least 24-48 hours prior to migration, critical records (A, CNAME, MX) should have their TTL values set to the minimum (e.g., 300 seconds or 5 minutes).
- Purpose of OperationReducing the TTL means global DNS caches will discard outdated IP address information more quickly, enabling subsequent DNS record changes to take effect globally faster. This minimizes the window period of inconsistent access caused by the coexistence of old and new IP addresses.
1.2 Complete Documentation of Existing DNS Configuration
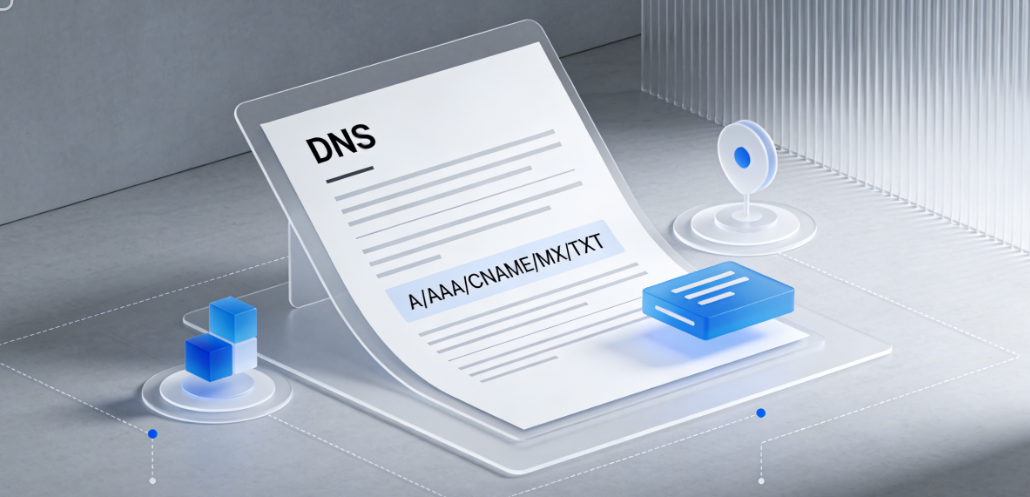
Log in to the DNS management panel for the current domain and export or screenshot all DNS records. This list must include:
- All A records, AAAA records,CNAME recordand the IP address or domain name it points to.
- MX records (Mail Exchange records) ensure email services remain unaffected.
- TXT record(such as SPF, DKIM, and DMARC for email authentication, or domain validation records).
- Current authoritative DNS server information.
1.3 Preconfiguration and Testing in the New Environment
After fully deploying the website on the new host server, use a temporary method to verify its operational status.
- Modify the local Hosts fileModify the hosts file on your personal computer to temporarily point the domain name to the new server's IP address. This bypasses public DNS and allows you to directly test whether the website functions properly on the new server.
- Use a temporary test domainMany hosting providers offer temporary URLs for accessing sites on new servers. Use these addresses to thoroughly test website functionality, database connections, and script execution.
Chapter 2: Migration Checklist: Critical Operations at the DNS Layer
Once both the new and old environments are ready, proceed to the formal switchover phase. The following operations should be performed in sequence.
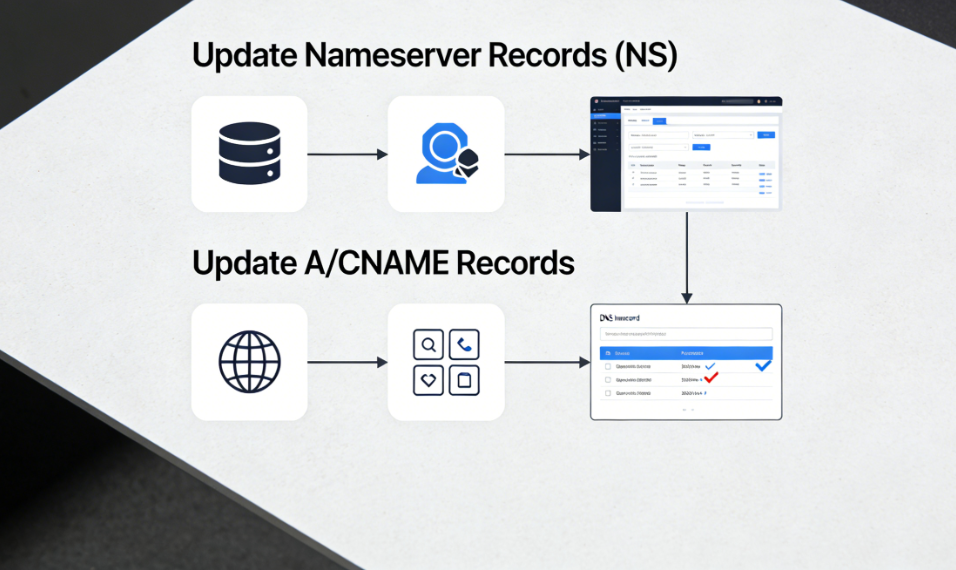
2.1 Update DNS Server Records
If the migration involves switching DNS service providers, you must first update the authoritative DNS servers at your domain registrar.
- operating positionDomain registrar control panel.
- Operation contentUpdate the NS records with the information provided by the new DNS service provider.
2.2 Update the core A record or CNAME record
This is the core step for accessing website content.
- Regarding the replacement of the hostIn the DNS panel for managing domain names, set the primary domain (@) and
wwwThe A record value for the subdomain must be updated from the old host IP to the new host IP. - Regarding the use of CDNIf the new environment uses a CDN, the record should point to the CNAME address provided by the CDN, not directly to the server's IP address.
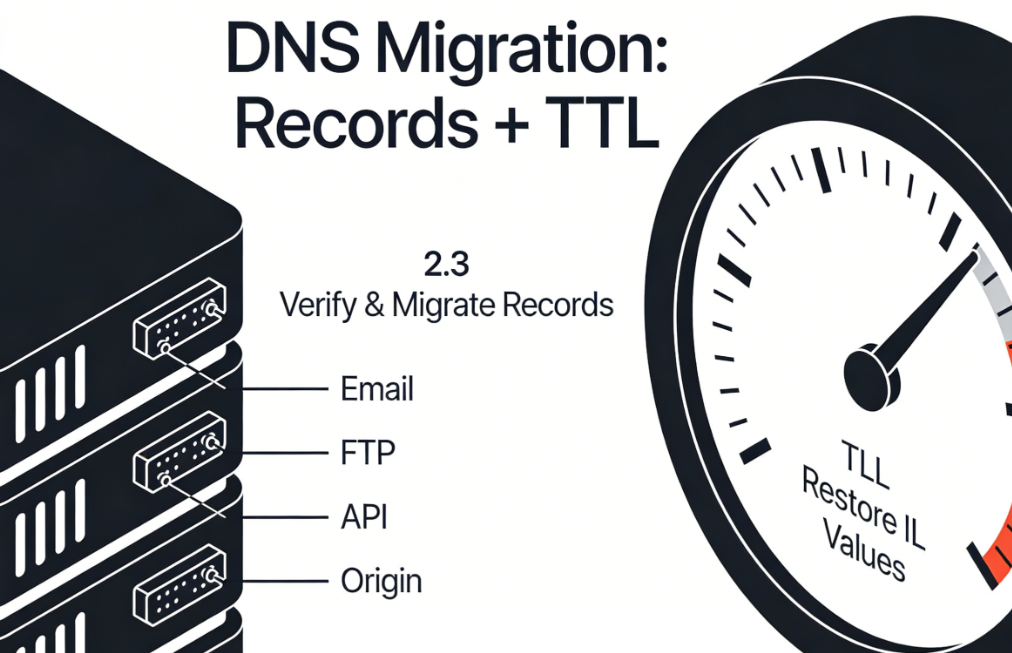
2.3 Verification and Migration of Special Records
Ensure non-web services continue to run after migration.
- Email LogIf the email service is separate from the website hosting, the MX records and related TXT records typically remain unchanged. If the email service migrates along with the hosting, they must be updated with the new mail server information.
- Other Service Records: Verification
ftp,api,originWhether subdomain records for specific services need to be updated.
2.4 Restore TTL Value
After all DNS record updates are completed and the website is confirmed to be functioning normally, gradually restore the TTL value to its normal level to reduce query pressure on the authoritative DNS server.
Chapter 3: Troubleshooting: Diagnosing Origin DNS Errors After Migration
If an Origin DNS error occurs after migration, troubleshoot based on the specific migration type.
3.1 Scenario 1: Errors After Replacing the Host Server
In this scenario, the error typically stems from DNS records that have not been updated or where the updates have not yet taken effect.
- Diagnostic Procedure::
- Use a global DNS lookup tool to verify whether the IP address resolved for the domain name has been updated to the new server IP. If the old IP address is still displayed, it indicates that DNS propagation is incomplete or the record modification was incorrect.
- If the IP is correct, use
ping (computing)respond in singingtracerouteTest the reachability of this IP address. If unreachable, contact the new hosting provider to confirm the server is running and firewall rules permit access. - Check the website configuration file on the new server to confirm that the virtual host configuration is correctly bound to the domain name.
- Repair operationVerify DNS record values; wait for DNS propagation; contact the hosting provider to check server status and configuration.
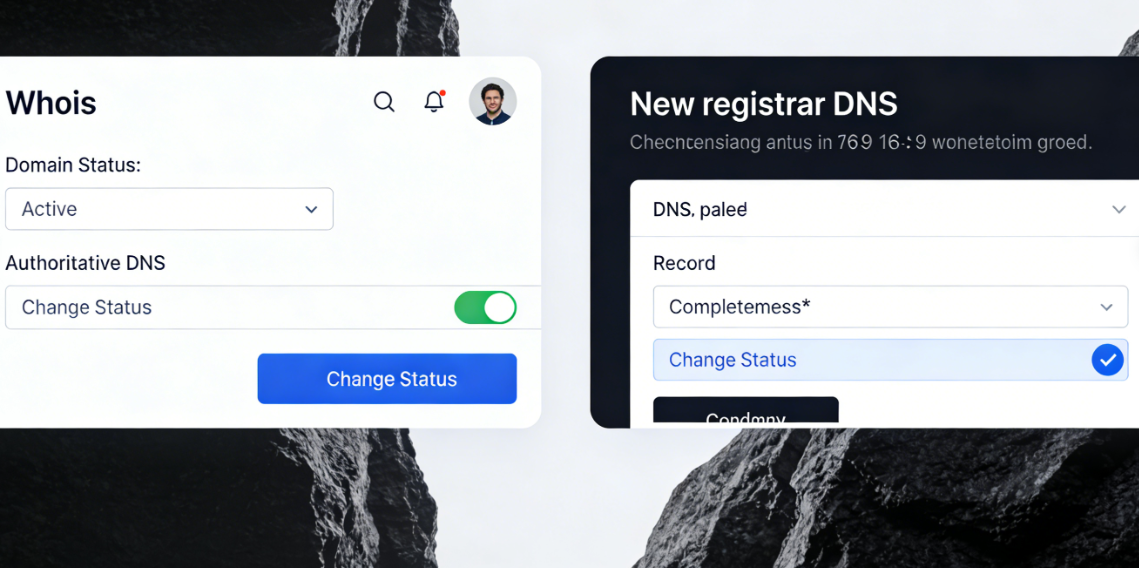
3.2 Scenario Two: Errors After Transferring Domain Registrars
The core issue in this scenario is a disruption in DNS server information or DNS records during the transfer process.
- Diagnostic Procedure::
- Check the domain's Whois information to confirm whether the domain status is normal and whether the authoritative DNS servers have been successfully changed to the servers designated by the new registrar.
- Log in to the DNS management panel of the new registrar to confirm that all necessary DNS records have been fully imported and correctly configured.
- Check whether the domain name has been mistakenly added to a privacy protection service, which may sometimes modify the default DNS records.
- Repair operationReconfigure DNS records with the new registrar; Confirm that the domain name servers are active; Check and adjust domain privacy settings.
3.3 Scenario Three: Simultaneous Replacement of Hosting and Domain Name Service
This is the most complex scenario, requiring systematic troubleshooting across two distinct layers.
- Diagnostic Procedure::
- First, focus on domain name resolution.: Use
dig NS yourdomain.comConfirm that the authoritative DNS servers have been pointed to the new service provider and that the changes have taken effect globally. - Second, focus on the direction of the recording.In the newly activated DNS service provider panel, verify that the new host IP address specified in the A record is absolutely accurate.
- Final Test ServerAfter confirming that DNS resolution points to the new IP address, perform connectivity and service status tests on that IP address.
- First, focus on domain name resolution.: Use
Chapter 4: Website Migration DNS Checklist
Before and after executing the migration, verify each item on this checklist:
- Lower the TTL value 24 to 48 hours before migration.
- Perform a full backup and export all existing DNS records.
- Complete website deployment and functional testing in the new hosting environment.
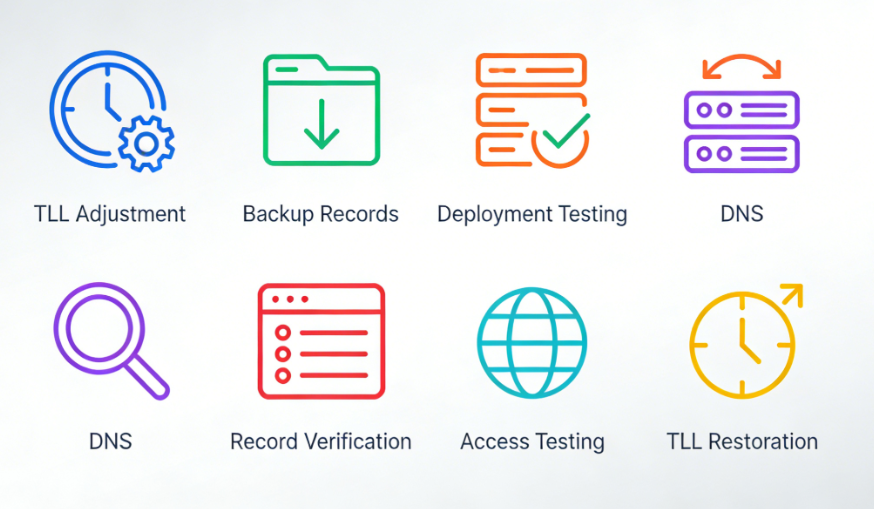
- fulfillmentDNS ChangeFirst update the NS records, then update the A/CNAME records.
- Verify and migrate MX records, TXT records, and other necessary records.
- Use the global DNS tool to verify record updates and their propagation worldwide.
- Test website accessibility across multiple network environments.
- After confirming everything is normal, restore the TTL value to its standard setting.
summarize
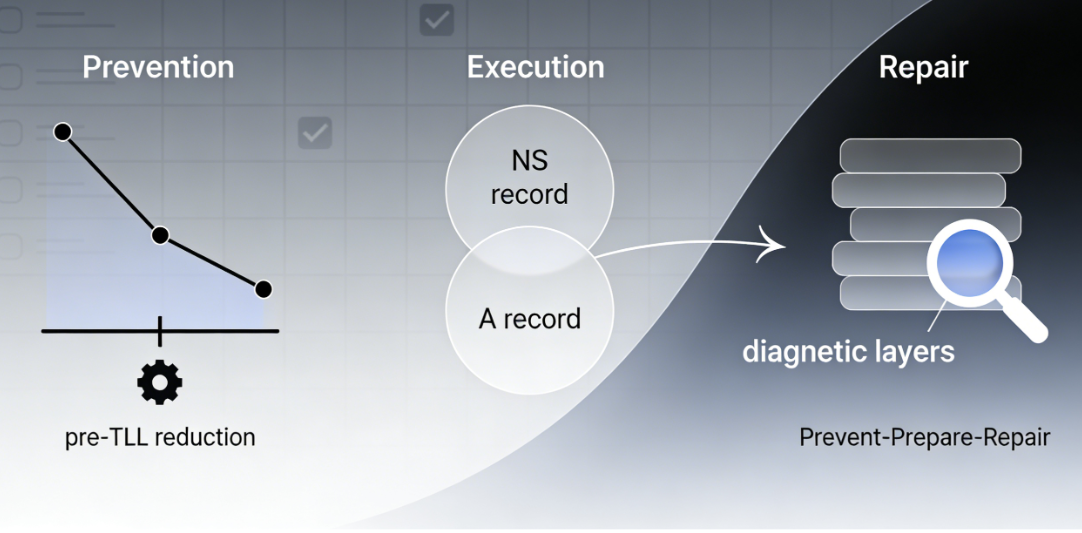
Origin DNS errors during website migration fundamentally stem from inconsistencies in updating the digital world's address book. Prevention hinges on preemptively reducing TTL, meticulous documentation, and planning; execution centers on orderly and complete switching of NS and A records; and remediation requires tiered, progressive diagnostics—from domain resolution status and DNS record configuration to server connectivity—tailored to the migration type.
Following this systematic roadmap not only minimizes migration downtime to the shortest possible duration but also empowers operators with clear fault-localization capabilities. It transforms migration anxiety into a controlled, orderly technical operation, ultimately ensuring the website's smooth landing and seamless access in the new environment.

Link to this article:https://www.361sale.com/en/82154The article is copyrighted and must be reproduced with attribution.


![Emoji[wozuimei]-Photonflux.com | Professional WordPress repair service, worldwide, rapid response](https://www.361sale.com/wp-content/themes/zibll/img/smilies/wozuimei.gif)
![Emoticon[baoquan] - Photon Wave Network | Professional WordPress Repair Services, Worldwide Coverage, Rapid Response](https://www.361sale.com/wp-content/themes/zibll/img/smilies/baoquan.gif)


No comments